The following guide will show you how to setup the Helpdesk Widget using our CMS plugin.
Note: Please note that the CMS plugin is free for downloading and use.
Setup via CMS plugin
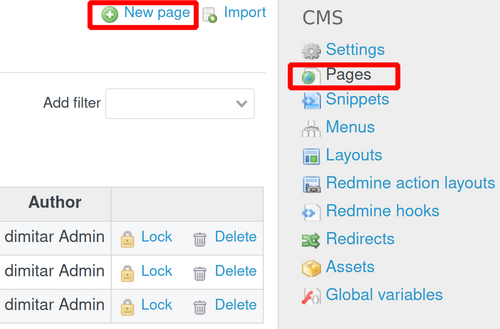
Please go to Administration (on top) - CMS. Then open the Pages section and then create a new one with the New page button.
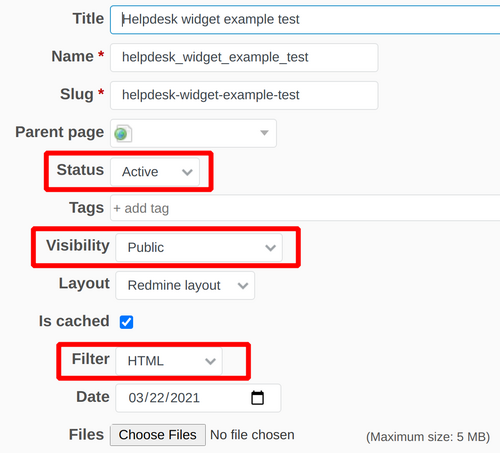
- Status ---> Active
- Visibility ---> Public
- FIlter ---> HTML
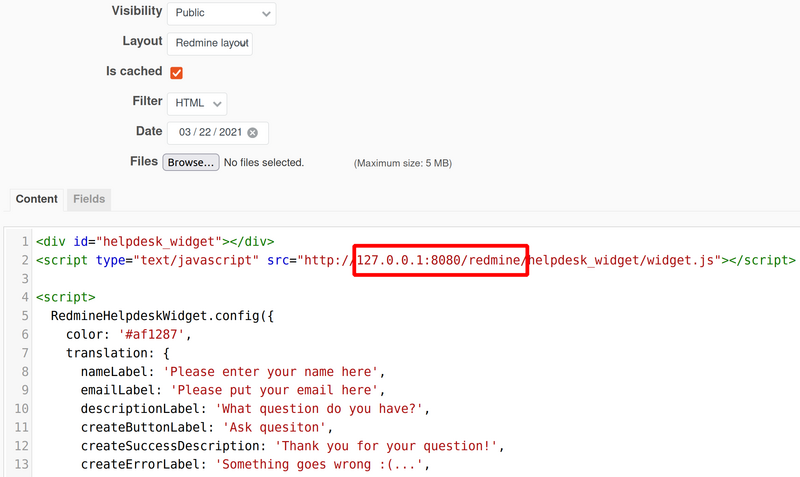
Afterward, please insert the source code of the Widget in the Content Section.
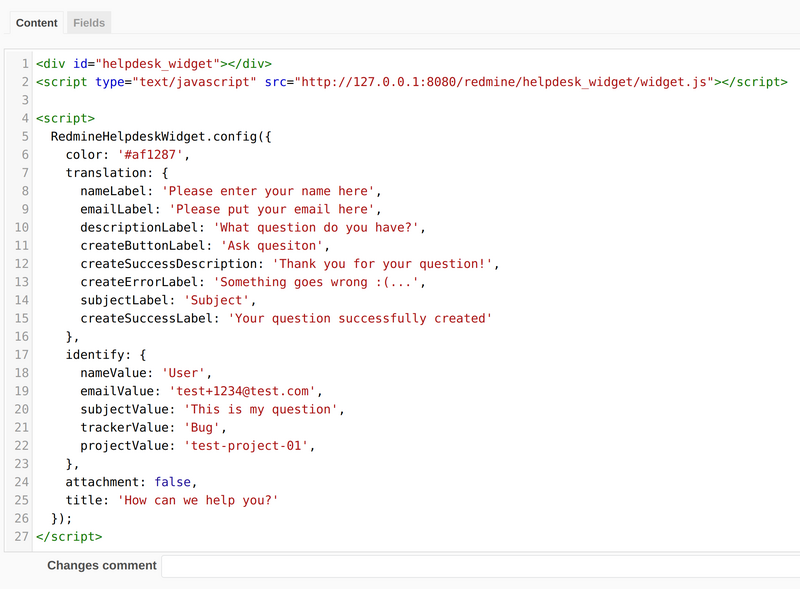
Note: The example code of the Widget could be checked in this article.
Then in the CMS general settings please set the Landing page to be the page that we created above.
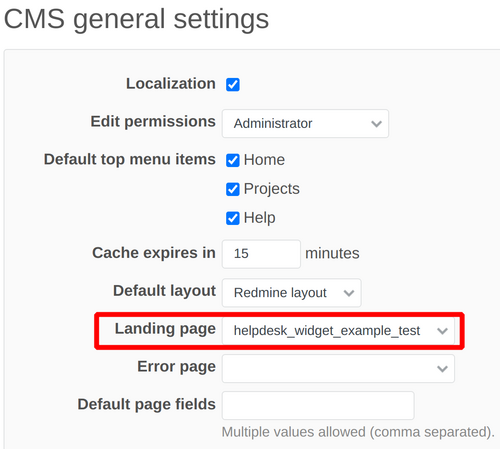
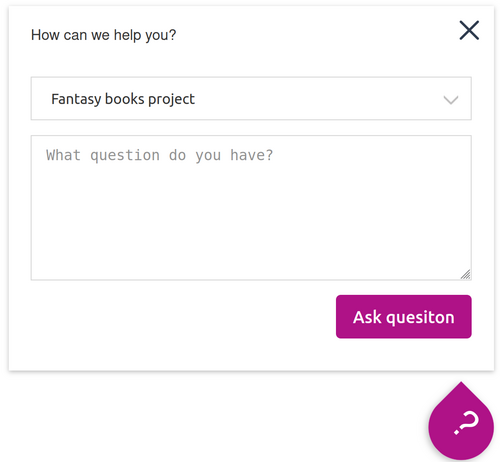
And then, as a result, the Widget will appear on the home Redmine page.
Troubleshooting
Let's check what possible problems could appear during the above-mentioned setup.
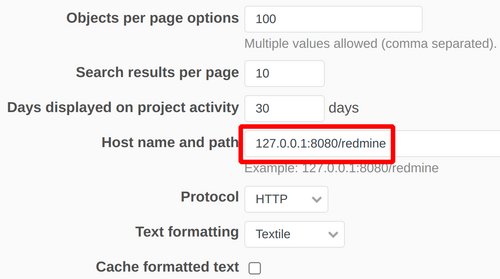
Firstly, please make sure that the Host name and path is exactly the same as the one in the Widget configuration. You may check the below examples.
General Redmine settings:
Helpdesk widget configuration for the hostname and path:
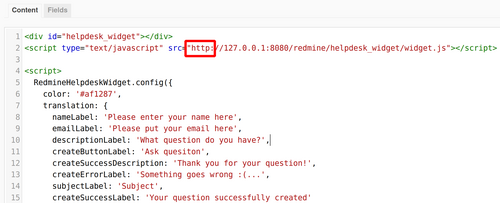
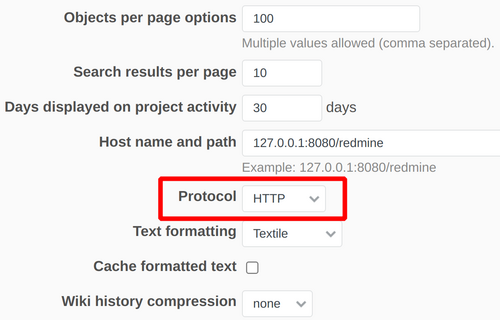
The other important thing is the Protocol - it has to be the same (either HTTP or HTTPS) in both general Redmine settings and Widget settings.
General Protocol Redmine settings:
Helpdesk widget configuration for the Protocol: